

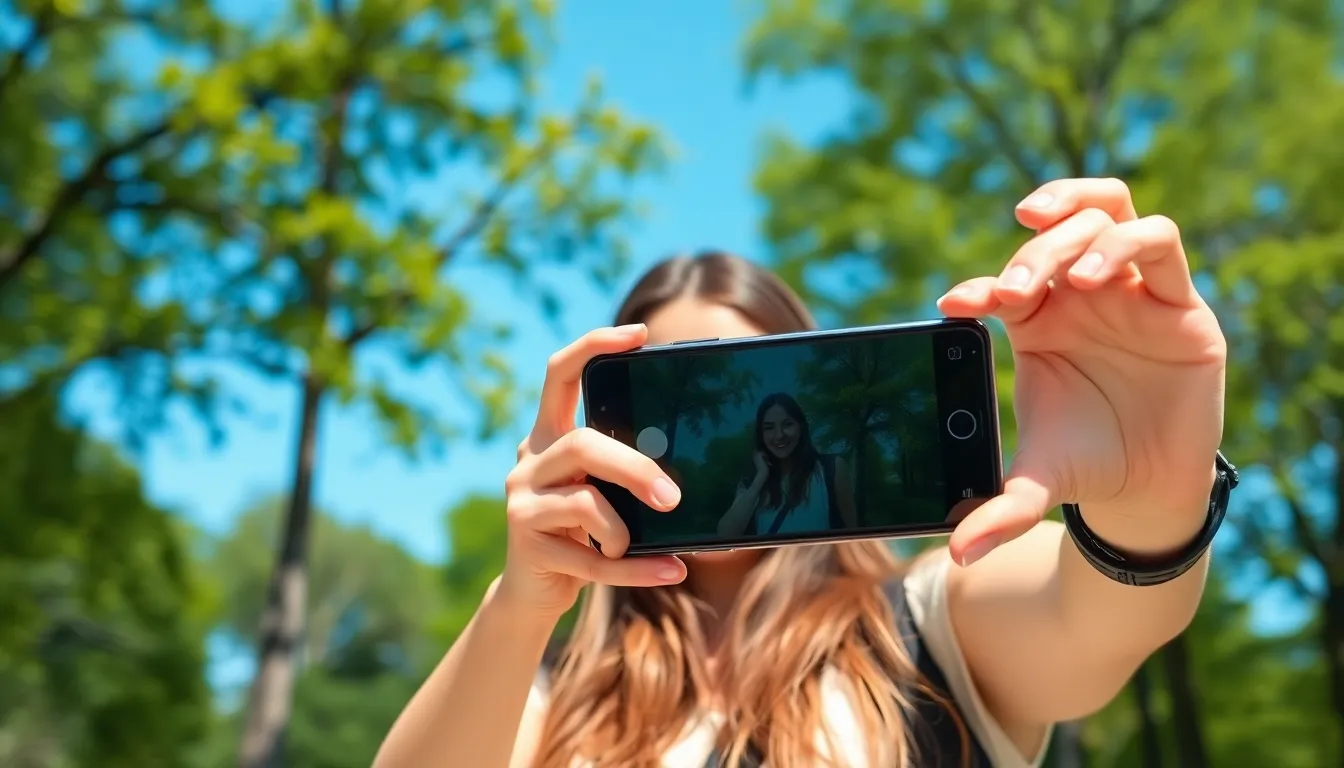
Capturing that perfect moment on an iPhone can sometimes feel like chasing a unicorn. You know the one—a picture where everyone’s smiling, the lighting’s just right, and no one’s blinking. Enter the camera timer, your trusty sidekick in the quest for flawless selfies and group shots. With just a few taps, your iPhone can help you strike a pose without the awkward arm stretch.
Understanding the Timer Function
The timer function on the iPhone camera simplifies capturing perfect moments. This feature eliminates the need for awkward self-portraits by allowing users to prepare for the shot.
What Is the Timer Feature?
The timer feature enables users to set a delay before capturing a photo. Options include a 3-second or 10-second countdown. Users can select the desired duration through the camera app settings. After the countdown, the camera automatically takes a picture, making it easier to get into position or adjust angles. This functionality works well for group photos or when using a tripod, providing flexibility during photo sessions.
Benefits of Using the Timer
Using the timer feature enhances photography experiences in several ways. First, it reduces the chances of blurry images caused by shaky hands. Second, it allows users to join group shots, ensuring everyone is present in the frame. Third, it helps capture candid moments as individuals can focus on posing rather than operating the camera. Additionally, the feature encourages creativity by giving users time to set up the perfect shot, resulting in more thoughtfully composed photographs.
How to Access the Timer on iPhone Camera
Accessing the timer feature on the iPhone camera is straightforward and enhances photography. Users can follow a few simple steps to enable this handy tool.
Steps to Enable the Timer
- Open the Camera app. Launch the Camera application from the iPhone’s home screen.
- Select the Photo mode. Ensure that the Photo mode is active at the bottom of the screen.
- Tap the timer icon. Locate the clock symbol in the upper right corner.
- Choose a timer setting. Select either the 3-second or 10-second option based on preference.
These steps allow quick access to the timer and set the stage for capturing memorable moments effortlessly.
Selecting Timer Duration
Selecting the timer duration on the iPhone camera provides flexibility for various scenarios. A user can pick between a short or long countdown to suit their needs. A 3-second timer works well for spontaneous shots, while the 10-second setting provides ample time for posing.
- Tap on the timer icon. Access the timer feature by tapping the clock symbol.
- Choose duration. Select the desired countdown length from the options displayed.
- Confirm selection. Once a duration is chosen, the timer setting is saved.
This allows anyone to adapt to different settings, ensuring everyone fits perfectly into the shot.
Tips for Using the Timer Effectively
Utilizing the timer feature on the iPhone camera enhances photo quality and creativity. Following a few simple tips ensures better results.
Best Practices for Group Photos
Position everyone evenly within the frame. A balanced arrangement creates visually appealing results. Use the 10-second timer for larger groups, allowing everyone adequate time to settle into position. Make sure participants know the exact moment to smile by counting down. Test a few poses before capturing the final shot. Reviewing previous attempts can help identify angles that work best. Don’t forget to consider the background as it can either enhance or distract from the subjects.
Creative Uses for the Timer
Employ the timer for capturing dynamic shots. For instance, use it to snap candid moments during a gathering. Setting the 3-second timer captures spontaneous laughter and surprises. Try playing with angles by placing the iPhone on various surfaces to capture different perspectives. Utilizing the timer also allows solo photographers to join in on group activities without missing the fun. Experimenting with creative props and scenery adds unique elements to photos.
Troubleshooting Common Issues
Users may encounter issues while using the timer on the iPhone camera. Addressing these can enhance the overall experience.
Timer Not Appearing
Sometimes the timer might not show up on the camera interface. Ensure the Camera app is updated to the latest version. Closing and reopening the app can also fix glitches. If the timer icon doesn’t display in Photo mode, switching to Portrait mode may reveal it. Restarting the iPhone often resolves temporary software issues. In rare cases, a device reset may be necessary for persistent problems.
Timer Not Functioning Properly
When the timer doesn’t function as expected, various factors can contribute. First, check the selected timer duration; it must be set to either 3 seconds or 10 seconds. If the camera remains unresponsive, closing other apps running in the background can help. Ensure the iPhone is not in silent mode, as this may affect the countdown sound. Testing the timer with different lighting may also lead to better results. If problems persist, seeking assistance from Apple Support is advisable for further troubleshooting.
Utilizing the timer feature on an iPhone camera can transform the way users capture moments. It makes it easier to include everyone in photos while minimizing the risk of blurry images. By taking advantage of the 3-second and 10-second countdown options, individuals can plan their shots more effectively and explore creative angles.
With a few simple steps to access the timer and some helpful tips to enhance photo quality, users can elevate their photography game. Whether it’s a spontaneous gathering or a carefully planned group shot, the timer feature ensures that every moment is captured beautifully. Embracing this tool can lead to more enjoyable and memorable photography experiences.


